Editing your project
Visual Studio Code (VSCode) is the official way of working with ceramic projects. If you don’t have it installed, go download and install it.
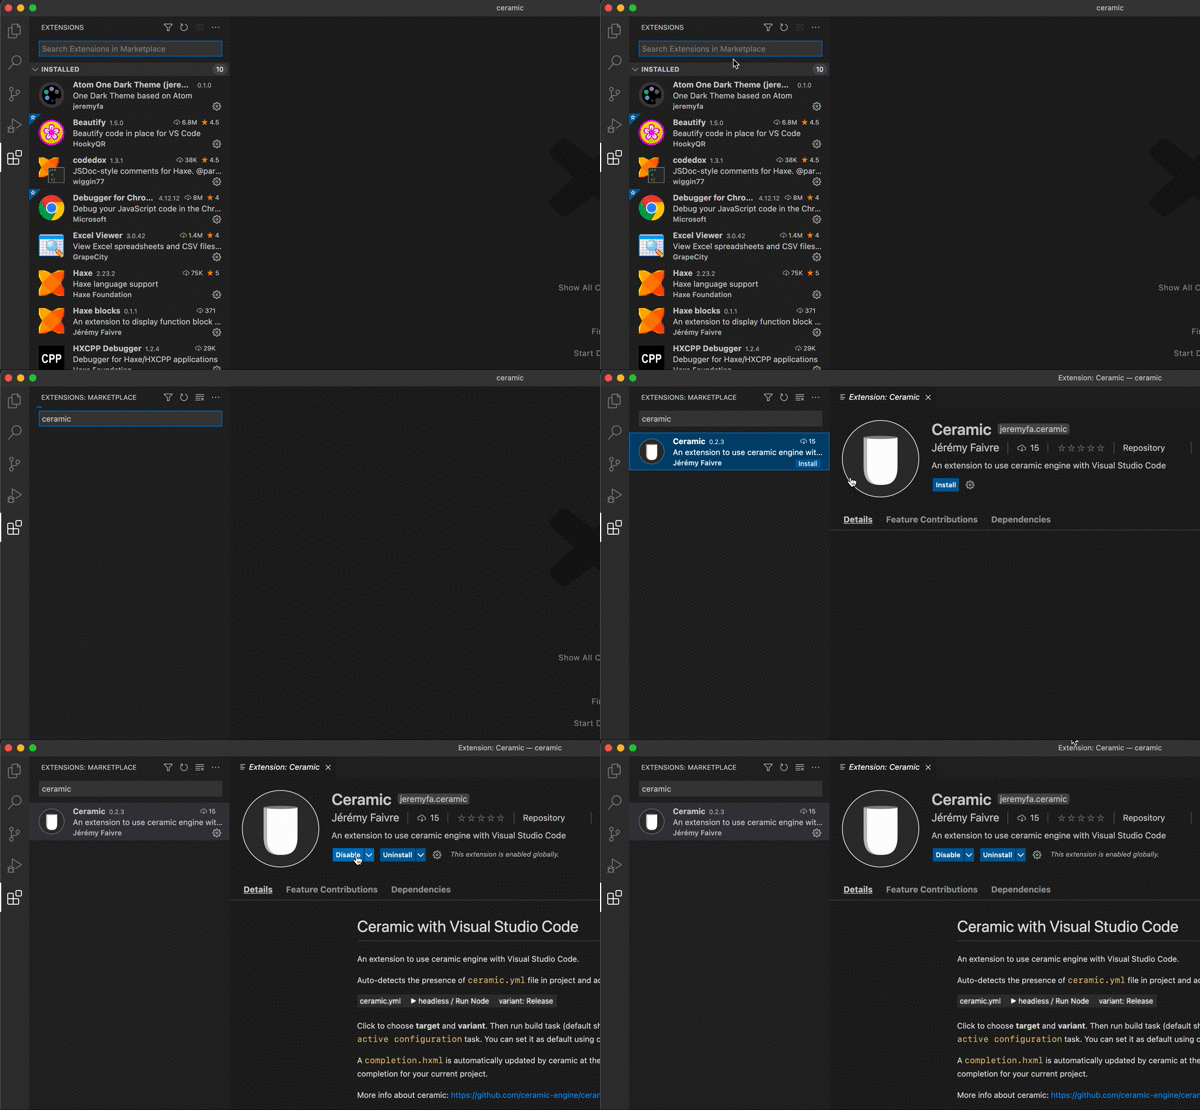
Then, open VSCode and install the Ceramic extension:

At this point, you should be ready to work on your project.
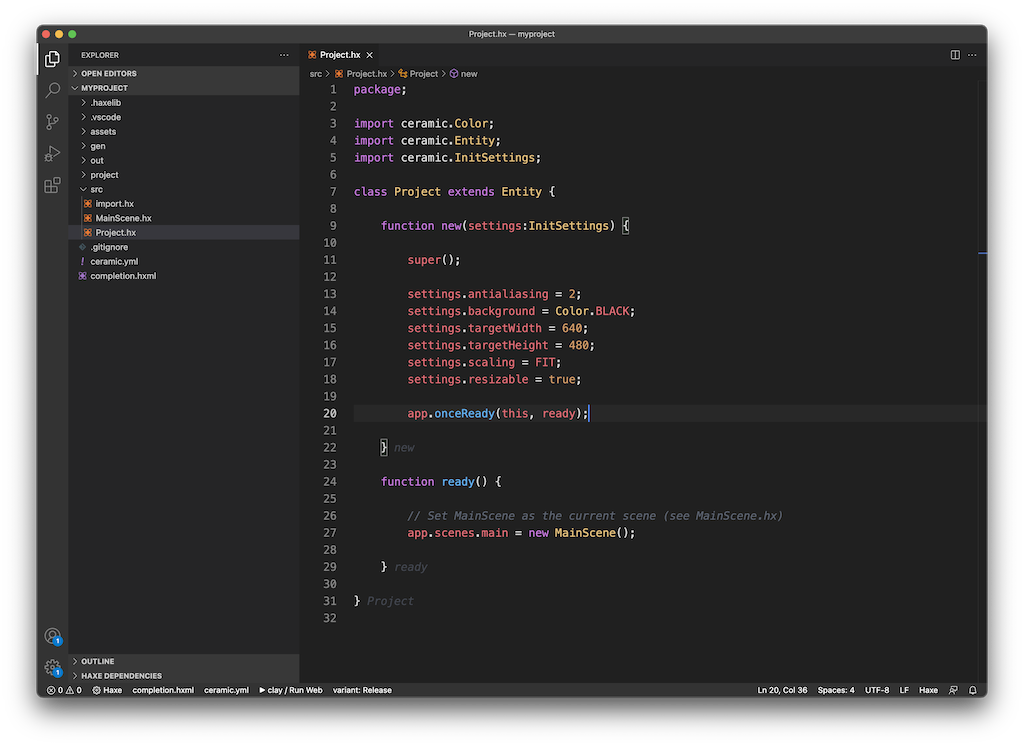
Open it from Visual Studio Code: File > Open… > choose myproject folder. It should display the following project window:

Code completion in Haxe files (*.hx) should work too.
Read more about a default project's content ➔ Inside a default project
Run the project from VSCode
To run your project from Visual Studio Code, press CTRL + Shift + B (CMD + Shift + B on Mac).
It should show you the same app window with ceramic logo as when you ran your project from command line.
Ceramic comes bundled with an electron runner, which is used to launch the web export of your app. It takes care of setting up an HTTP server on the fly and creates a window to display your app in a more “native” fashion. This means that when you want to test the web version of you app, you don’t need to manage an HTTP server yourself and don’t have to open some random browser tab that points to your local address. Everything is handled for you!
Creating your first Scene
At this point, you should have a Ceramic project that you can edit through VSCode, so let's create our very first scene to practise a bit!
Create a new file called GettingStarted.hx inside the src/ folder:
import ceramic.Scene;

class GettingStarted extends Scene {

    override function create() {

        log.debug('Hello!');

    }

}
Then let’s modify our ready() method in Project.hx so that it will run our new scene instead of the default one:
    function ready() {

        // Set our new GettingStarted scene as the main scene
        app.scenes.main = new GettingStarted();

    }
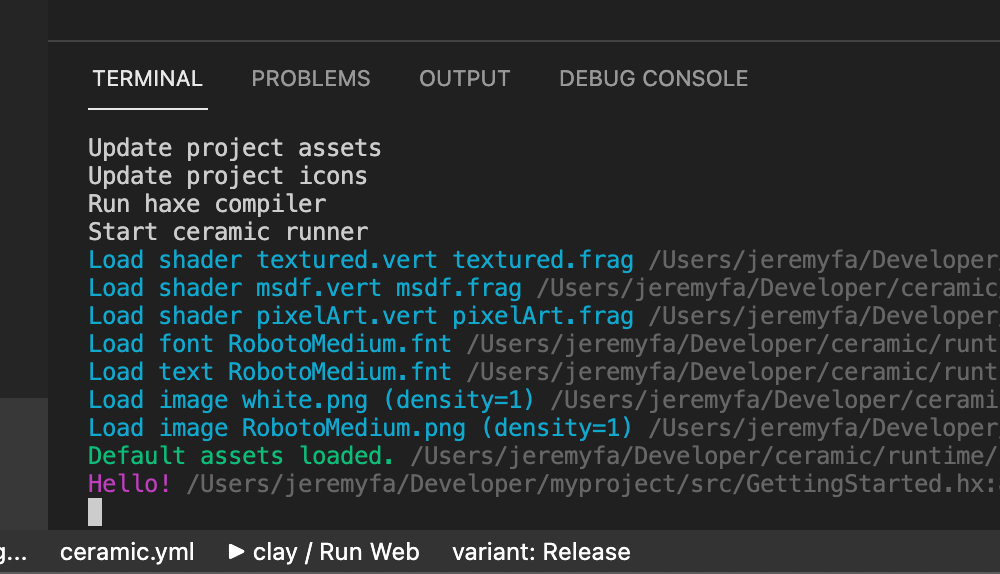
Let’s try to run that. It should show a black empty window, and a purple “Hello!” log should be printed inside VSCode terminal. That means our scene has been initialized and create() method called!

You can log different kind of messages with ceramic: log.debug(), log.warning(), log.error(), log.info() and log.success(). Each kind of message will show up with a different color on the terminal.
Your Scene is now ready to add more content
We managed to setup a project with a new empty scene, which is a very good starting point to add more code to display objects on screen. The next guide will show you just that!
Continue reading ➔ Display a square