Display a square
I know we are not making a hit game yet, but let’s start from the beginning: displaying a plain old yellow square 🟨
Edit GettingStarted‘s create() method to do that:
import ceramic.Quad;
import ceramic.Color;
import ceramic.Scene;

class GettingStarted extends Scene {

    override function create() {

        // Display a yellow square
        var quad = new Quad();
        quad.size(100, 100);
        quad.color = Color.YELLOW;
        quad.pos(width * 0.5, height * 0.5);
        quad.anchor(0.5, 0.5);
        add(quad);

    }

}
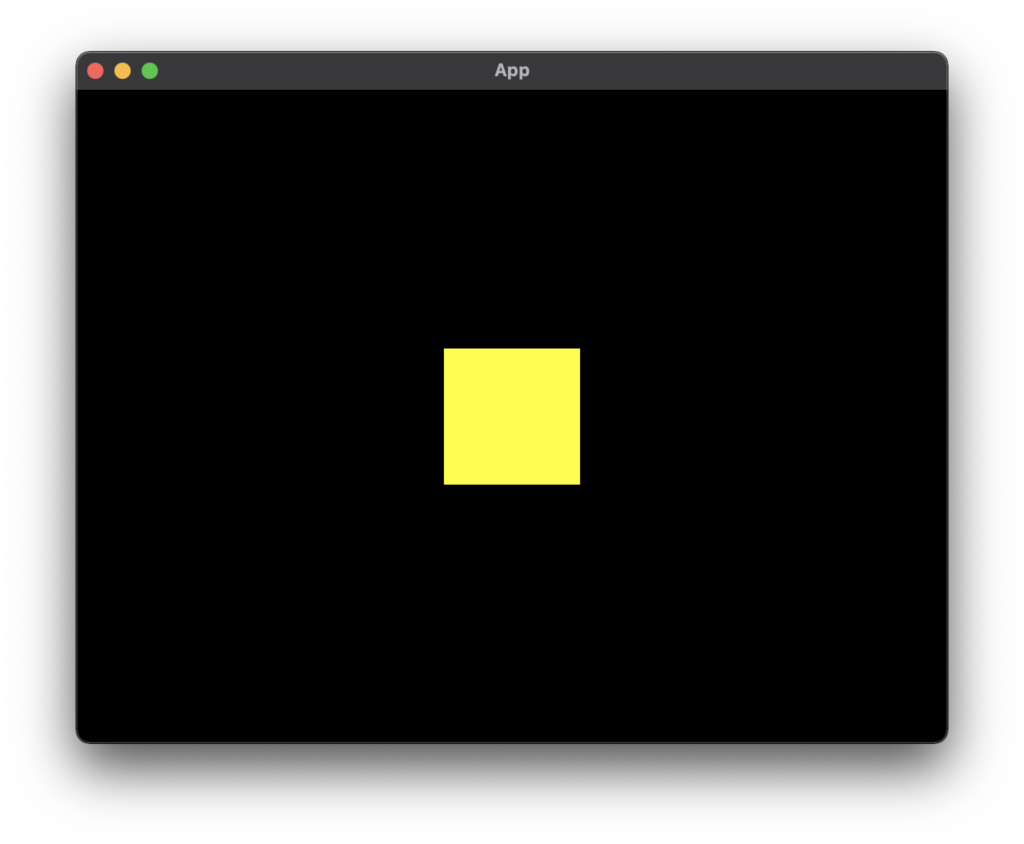
Build and run the project. This is what you should see:

Let’s go over this code
That’s great! We are displaying a yellow square! (everybody has to start somewhere 😌)
Let’s examinate what we did.
1. Import 2 new types: ceramic.Quad and ceramic.Color:
import ceramic.Quad;
import ceramic.Color;
Quad class is used to display quads, that is, a polygon composed of two triangles that will form a square or a rectangle. It’s a very common and versatile type of Ceramic API.
Color is an utility to work with RGB colors.
2. Instanciate a new Quad object:
var quad = new Quad();3. Set the width and height of the quad using its size() method:
quad.size(100, 100);This is the equivalent of writing:
        quad.width = 100;
        quad.height = 100;
You could also turn the square into a rectangle by changing the width or height values.
4. Set the color of the quad as yellow
quad.color = Color.YELLOW;5. Position the quad at the center of the scene
        quad.pos(width * 0.5, height * 0.5);
        quad.anchor(0.5, 0.5);
Note that we also set the anchor of the quad (0.5, 0.5) to its own center, because by default, a quad anchor is at its top left. If we did set its anchor to (1, 1), it would have been centered to its bottom right etc…
Also, we could have done the same thing with the following code. That is strictly equivalent:
        quad.x = width * 0.5;
        quad.y = height * 0.5;
        quad.anchorX = 0.5;
        quad.anchorY = 0.5;
6. Finally, add the quad as a child of the scene
add(quad);Ok that’s nice, we displayed a yellow square at the middle of the screen. What now?
Let’s add some interactivity, so that it will be… an interactive yellow square 🟨 🥁
Adding interactivity with pointer events
Let’s do something simple: everytime we click on the square, it changes color! This can be done using pointer events in Ceramic.
Add this code at the end of the create() method:
create() method) // Bind to 'pointerDown' event
quad.onPointerDown(this, info -> {
log.debug('pointer down: $info');
quad.color = Color.random();
});Build and run again, you should now see your square change color everytime you click on it.
Not that hard so far right? There are still a few things to explain.
With this snippet of code, we are listening to the pointerDown event of our quad. When this event is fired (that is, when we click on the quad), the callback we have provided is called.
You can see we are also providing a first argument (this). That argument is the owner of the event binding. In our code, this is the scene instance. We are stating that the GettingStarted scene instance is the owner of this event binding.
In practice, it means that if our scene is destroyed, the event binding will be automatically removed as well. You don’t need to remove it manually, Ceramic will take care of that. If we destroy() the quad instance, the event binding will also be removed as the quad was the object we were listening to.
Although in this example it doesn’t really matter, specifying ownership of event bindings becomes important on larger and more complex projects to ensure you won’t have anything leaking or being called accidentally on destroyed objects.
This whole concept of ownership and events is treated in details in a separate guide about events. For now, just remember that you should use this as first argument of your event binding and you’ll be fine!
In the next guide, we'll learn how to use quads to display actual images!
Continue reading ➔ Display an image