Your first Ceramic project
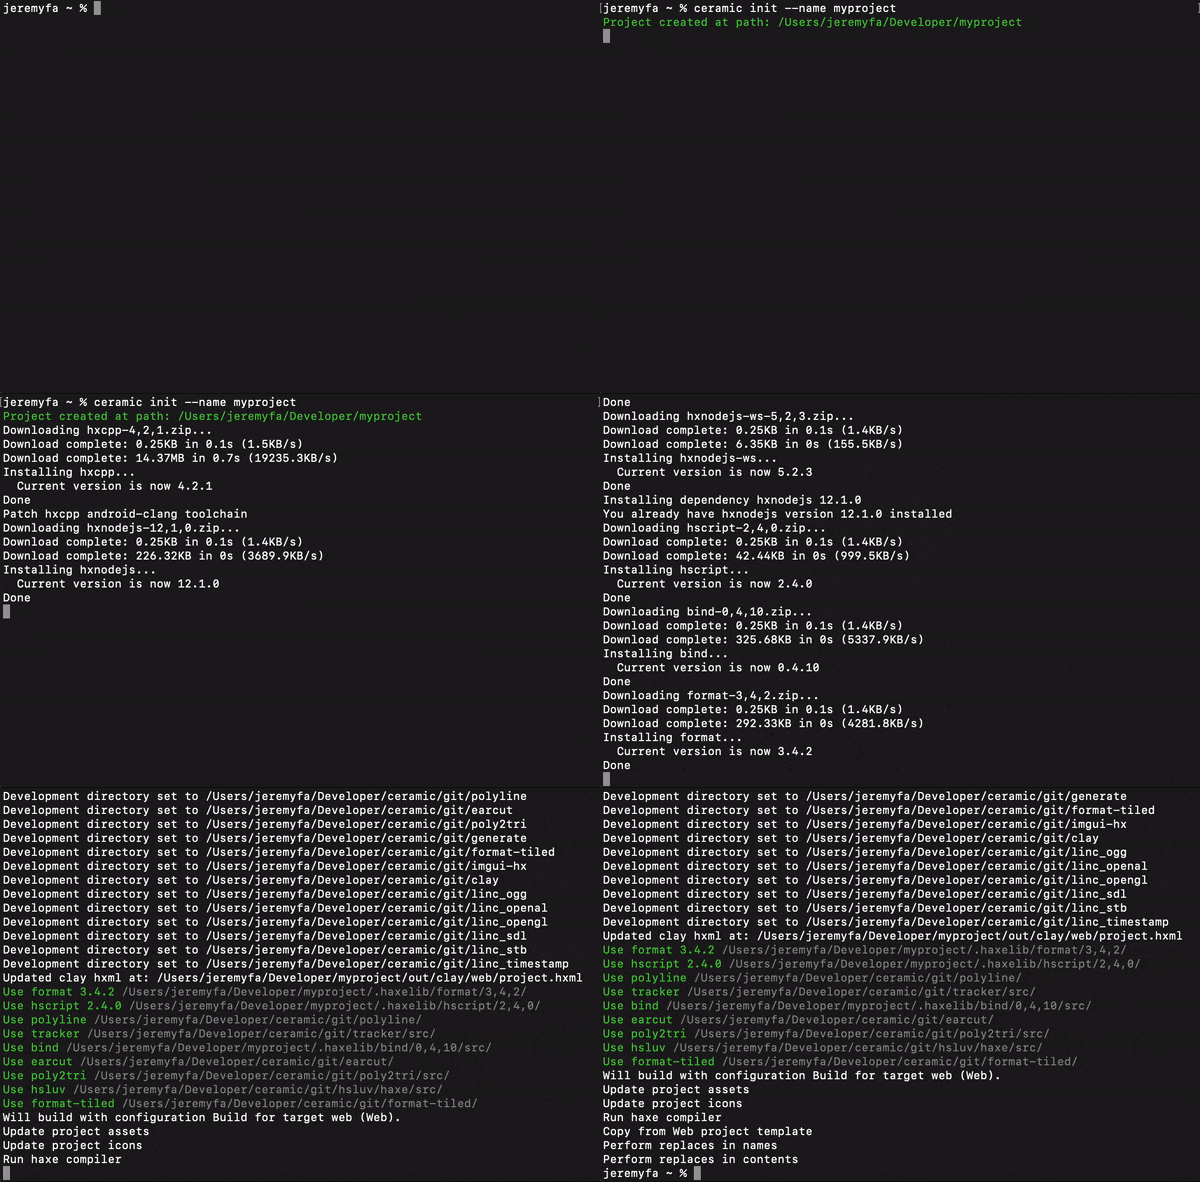
Now that ceramic is installed, we can use it to create a new project. Open a terminal and type:
ceramic init --name myprojectThis should generate and setup your project. Wait a bit, that should not be long!

Run your project
Your project is generated, you can now try to run it to ensure it works.
Set current directory to myproject:
cd myprojectThen call ceramic to run your generated app:
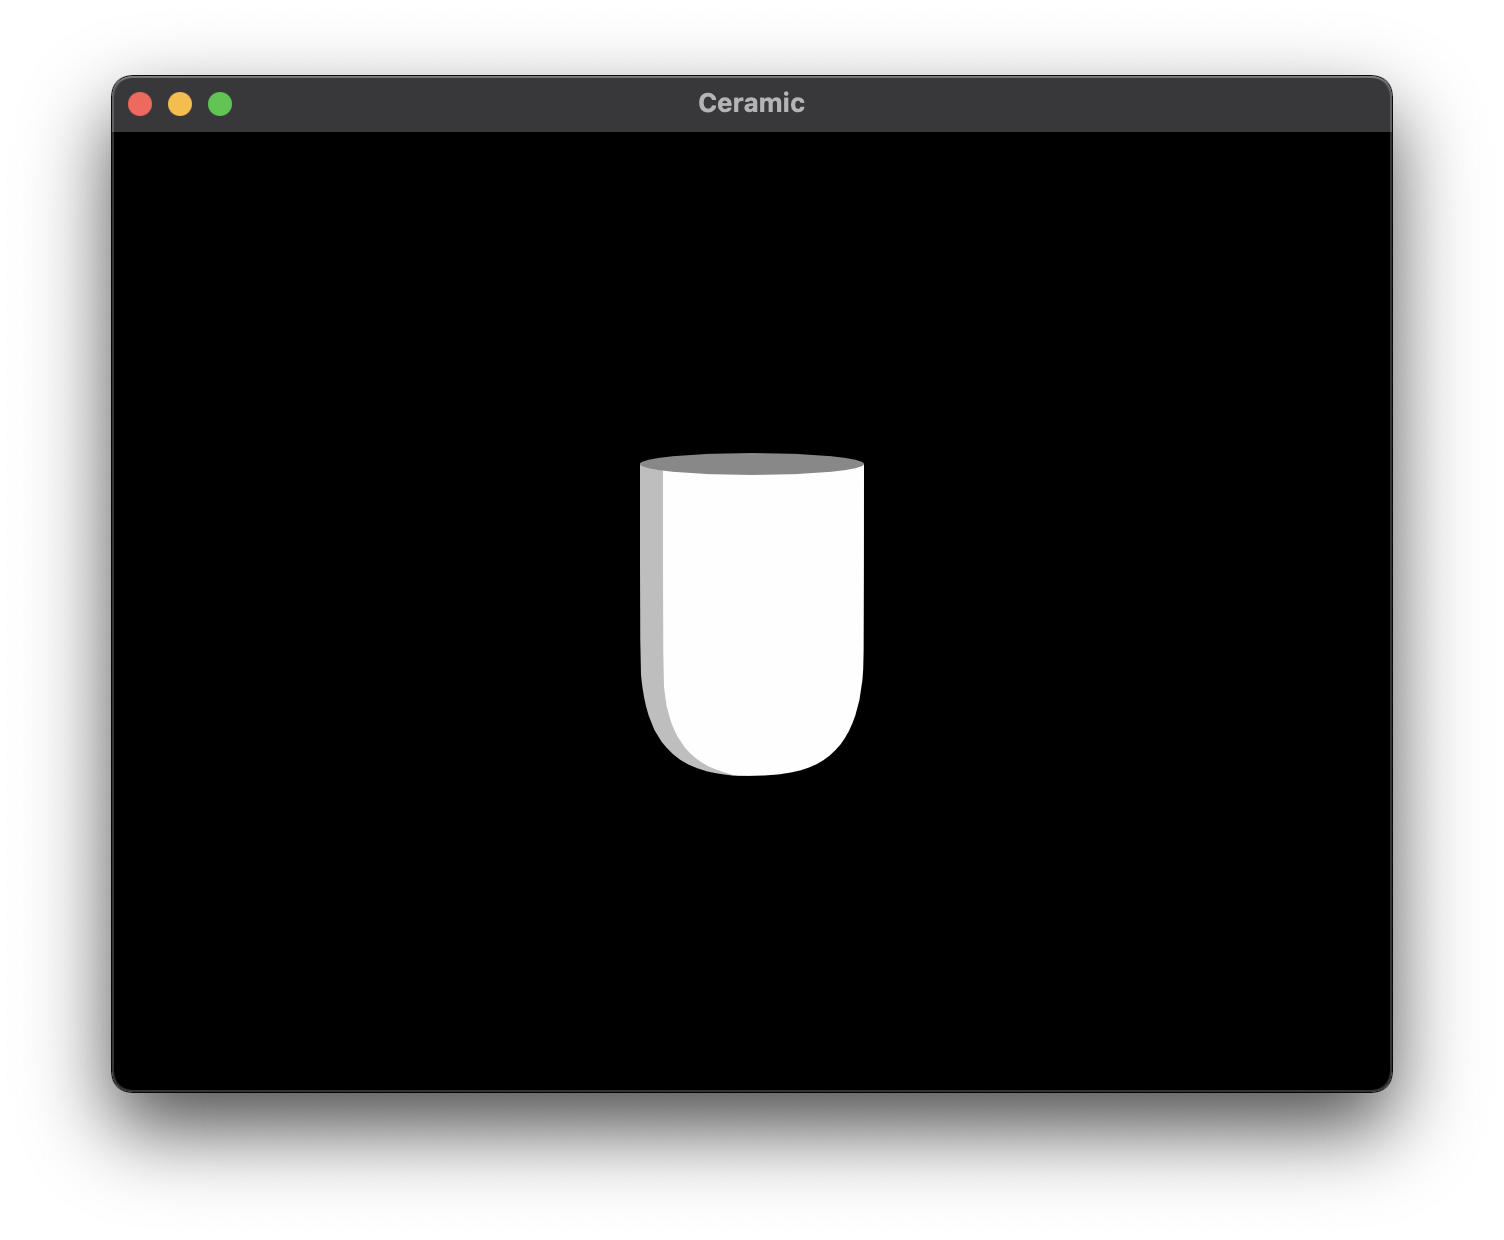
ceramic clay run web --setup --assetsYou should see a window open and show the default ceramic app:

Congratulations! You’ve just finished building and running your first project!
Explaining:
ceramic clay run web --setup --assets
This command is asking ceramic to run your app using clay backend and targeting the web platform.
Ceramic has multiple backends as mentioned in the introduction article, that is why we need to specify which backend and which target to use when building and running an app.
In practice, you won’t need to call this command by hand many times, because we will use Visual Studio Code and its Ceramic extension to continue.
If you plan to continue using CLI instead of Visual Studio Code later, the full command should always include --setup and --assets arguments:
ceramic clay run web --setup --assets
--assets argument will ensure your exported project’s assets are kept in sync with your original assets folder in case they changed since last run (but you don’t need to worry about this if you use Visual Studio Code as showcased in the next guide).
--setup argument will ensure your project is properly setup for the given target. This is particularly useful when you build a target for the first time, but it doesn’t hurt keeping the argument for every run.
Continue reading ➔ Editing your project