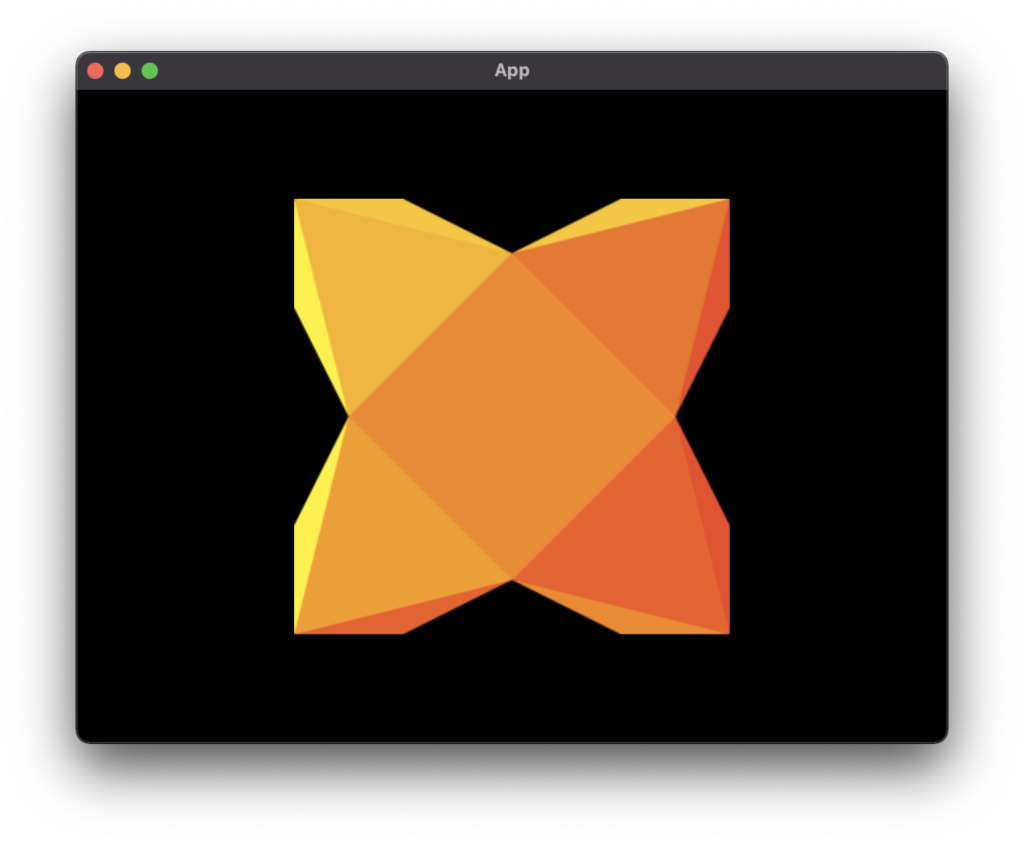
Display an image
In the previous guide, we learned to use Quad objects to display plain colored squares or rectangles, but they can also be textured to display images.
We will do that by adding an image file into our assets/ folder and load it into our scene. I’ll use a PNG file of the Haxe logo (named haxe-logo.png) in my example.
Download the PNG file from the link above, then put it inside your project’s assets/ folder (you can also try with another image if you want).
Loading the image
In our GettingStarted scene (created in the previous guides), let’s add a new preload() method right before the create() method:
import ceramic.Color;
import ceramic.Quad;
import ceramic.Scene;

class GettingStarted extends Scene {

    override function preload() {

        // Load haxe logo image
        assets.add(Images.HAXE_LOGO);

    }

    override function create() {

...
The preload() method is called when the scene is preloading. During preload, you can use the scene’s asset manager (the assets object) to make it load the assets your want.
Ceramic generates constant types from asset files (here we got Images.HAXE_LOGO constant from haxe-logo.png file). If you type Images.| in your code, it will autocomplete with the image assets available:

That’s enough to let ceramic load our image!
Now let’s get back to our create() method. We will use a quad again, but this time to display the image we have loaded:
    override function create() {

        var logo = new Quad();
        logo.texture = assets.texture(Images.HAXE_LOGO);
        logo.pos(width * 0.5, height * 0.5);
        logo.anchor(0.5, 0.5);
        add(logo);

    }
This time, instead of setting an explicit size to our quad, we simply assign it a texture from our assets object. The quad will automatically set its size to fit the image texture we have assigned.
Then we put that quad at the center of the scene, with its centered anchor, just like what we did with the previous quad example:

Wonderful! You now know how to display images with ceramic 🤓.
Continue reading ➔ Moving visuals